
Use Virtual Keypad to help you manage users, groups, and profiles across XR systems and X1 sites.
Create a Group
Note: Prior to adding the group to a user, ensure they are an app user on both the X1 site and XR panel. Refer to Add an App User.
To create a group for an X1 site, complete the following steps:
-
Log in to VirtualKeypad.com and enter your user code.
-
In the menu, select the X1 system you want to create a group for.
-
Select Groups, then select the Add icon to add a Group.
-
Enter the Group Name.
-
At Doors, select +Add to add the doors you want to assign to that group.
-
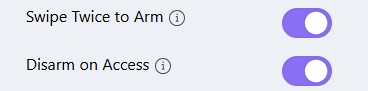
At Options, enable the Swipe Twice to Arm and/or Disarm on Access toggles.
-
At Areas, select +Add.
-
Select the checkbox next to the area name you want the group to have access to. Select Apply.
.png?cb=b20f44843f79539a73aa92e0ac818fc1)
-
Select Save.
Add Users to Multiple Systems
To share users across X1 sites and XR panels, the X1 Group or XR Profile you want to add the user to should already exist for both systems.
For more information about creating a group for an X1 site, refer to Create a Group. For more information about creating a profile for an XR panel, refer to Create a Profile.
To add users to multiple systems, complete the following steps:
-
Log in to VirtualKeypad.com and enter your user code.
-
At the top of the screen, select Admin to enter Virtual Keypad Admin to manage all your systems in one place.
Note: Virtual Keypad Admin is only available on VirtualKeypad.com.
Add a User
-
Go to Users, then select the Add icon to add a user.
-
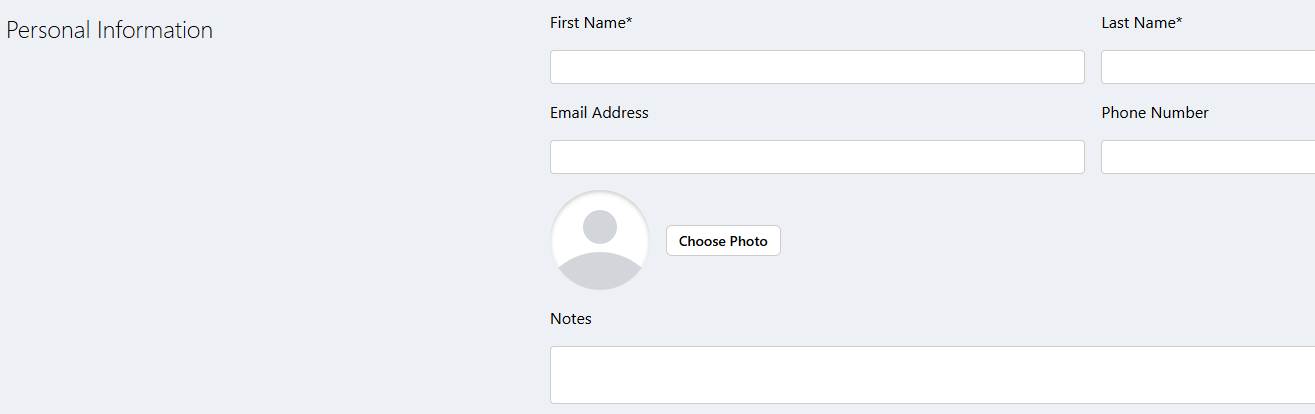
Enter the user’s Personal Information.
-
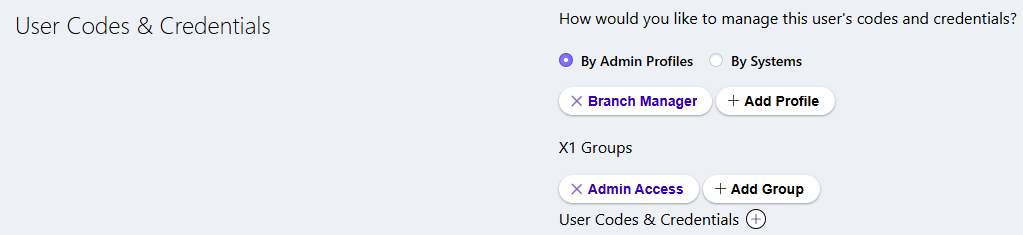
In User Codes & Credentials, complete one of the following steps:
-
Select By Admin Profiles to allow the user’s code to be added to any system that has the selected Profile, Group, or both.
-
Select By Systems to allow the user’s code to only be added to selected systems.
-
.png?cb=d75301d4688456ad1ca104d7284be8f9)
-
Assign a Credential for the user.
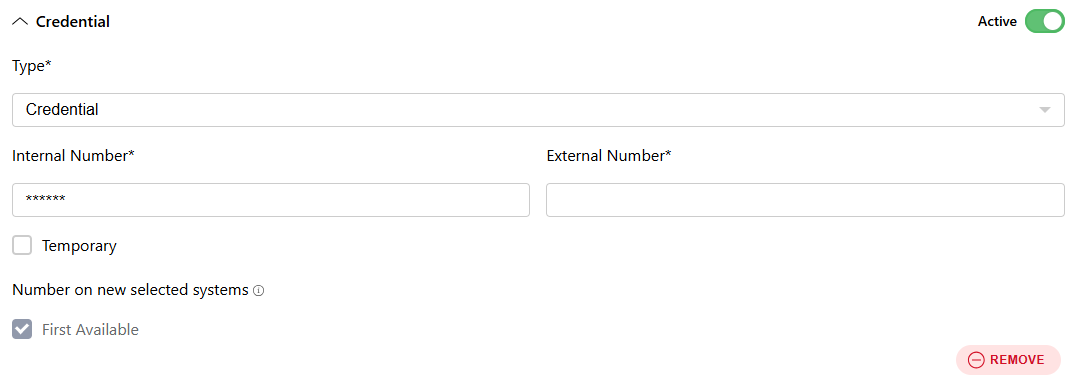
-
Configure additional settings as needed.
-
Select Save at the top of the screen.